How to change the primary domain in a WordPress multisite installation
This article describes how to change the primary domain in a WordPress multisite installation. You may need to do this, for example, after migrating a WordPress site to a new server.
Changing the primary domain
To change the primary domain in a WordPress multisite installation, you must update several database entries and a setting in the wp-config.php file. The following procedures demonstrate how to do this.
Step 1: Update the database
To change the primary domain for WordPress multisite, you must first update several database locations. To do this, follow these steps:
- Log in to cPanel.If you do not know how to log in to your cPanel account, please see this article.
- On the Tools page, in the Databases section, click phpMyAdmin:
phpMyAdmin opens in a new page. In the left sidebar, click the WordPress database (in the image below the database is named example_wp922). A list of tables in the database appears:
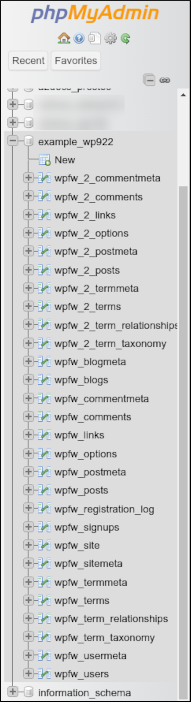 Typically, the WordPress database is username_wpXXX or username_a2wpXXX, where username represents your cPanel username, and XXX is a three-digit number.
In the left sidebar, click the wpXX_blogs table:
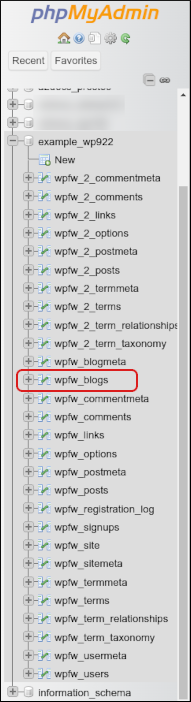 XX is a random two-letter prefix used in the database table names.
In the domain column, for each row, double-click the value, type the new domain name, and then press Enter:

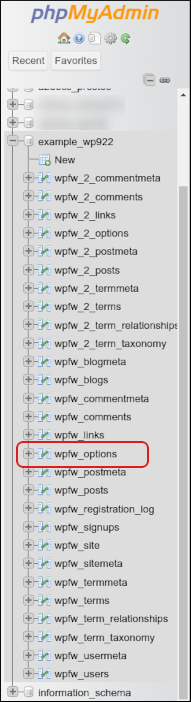
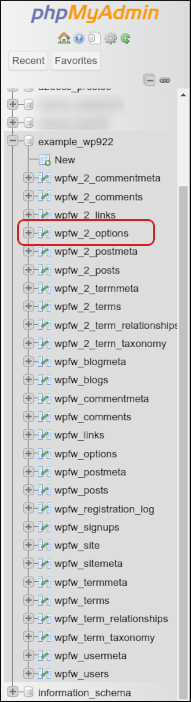
In the left sidebar, click the wpXX_options table:
In the siteurl and home rows, in the option_value column, double-click the value, type the new domain name, and then press Enter:

In the left sidebar, click the wpXX_site table:
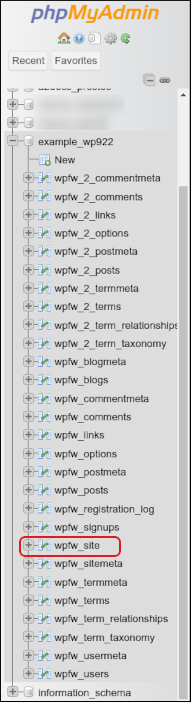
In the domain column, double-click the value, type the new domain name, and then press Enter:

In the left sidebar, click the wpXX_sitemeta table:
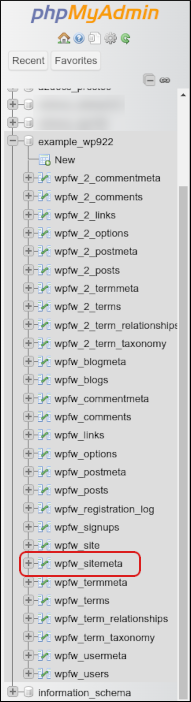
In the siteurl row, in the meta_value column, double-click the value, type the new domain name, and then press Enter:

If you have added additional sites, then the database contains additional tables named wpXX_2_options, wpXX_3_options, and so on. For each of these tables, change the siteurl and home values as you did in step 7.
- The database is now configured to use the new primary domain, and you are ready to update the wp-config.php file.
Step 2: Update the wp-config.php file
To update the wp-config.php file, follow these steps:
- On the server, open the wp-config.php in your preferred text editor.
- Locate the line that contains the DOMAIN_CURRENT_SITE setting:
define( 'DOMAIN_CURRENT_SITE', 'example.com' ); - Replace example.com with the new primary domain.
- Save your changes to the wp-config.php file. The domain change is now complete.
More Information
For more information about the WordPress multisite feature, please visit https://wordpress.org/documentation/article/create-a-network/.
Article Details
- Product: All accounts
- Level: Intermediate
Grow Your Web Business
Subscribe to receive weekly cutting edge tips, strategies, and news you need to grow your web business.
No charge. Unsubscribe anytime.
Did you find this article helpful? Then you'll love our support. Experience the A2 Hosting difference today and get a pre-secured, pre-optimized website. Check out our web hosting plans today.